
For thirty years, my neighbor Lorraine decorated the big tree in the front window of a department store downtown. Crowds gathered. Kids pressed their noses to the glass. When the store closed, she brought home a box of leftover ribbon and a lot of opinions.
Last December, I knocked on her door with a sad, lopsided tree and a plate of cookies. “Fix me,” I said. She laughed, poured two mugs of coffee that tasted like a campfire, and spent the afternoon teaching me what she knew.
Here’s what I learned. None of it takes special skill, and most of it costs very little.
Fluff Every Branch First
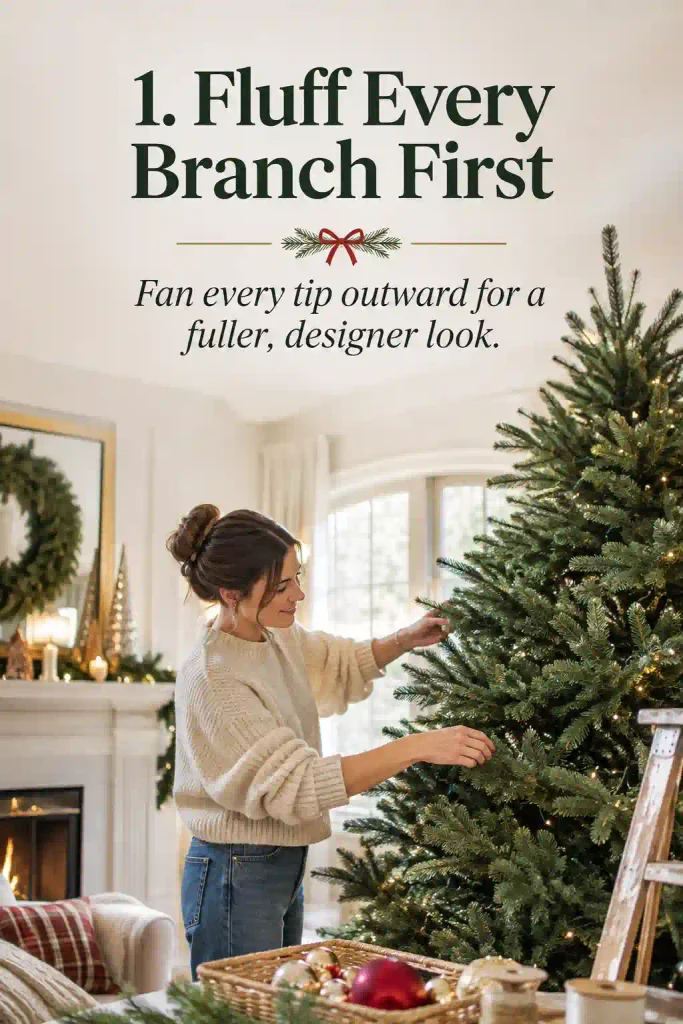
This is the step Lorraine says separates “store-bought” from “professional.” Start at the bottom and pull each branch tip apart, fanning the needles outward and bending the small side branches up and out.
Twenty minutes of fluffing makes an artificial tree look nearly twice as full. It costs nothing. If you have a real tree, let it sit in water for a few hours first so the branches relax.
Use Warm White Lights, Woven Deep
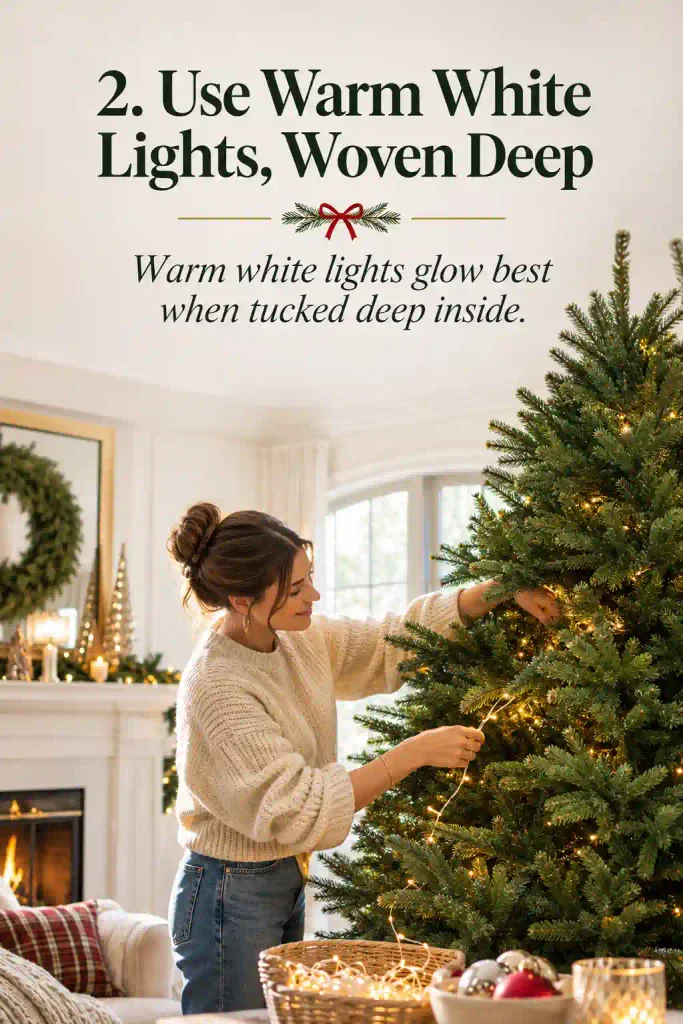
Cool white lights make a tree look like a gas station, Lorraine told me. Warm white glows like candlelight. Plan on about 100 lights per foot of tree height, and push them deep into the branches instead of wrapping the outside. That way the tree glows from within.
Strands run $8 to $15 each. Test every one before you start, and don’t be afraid to buy an extra strand or two. It’s the best money you’ll spend.
Cascade Wired Ribbon
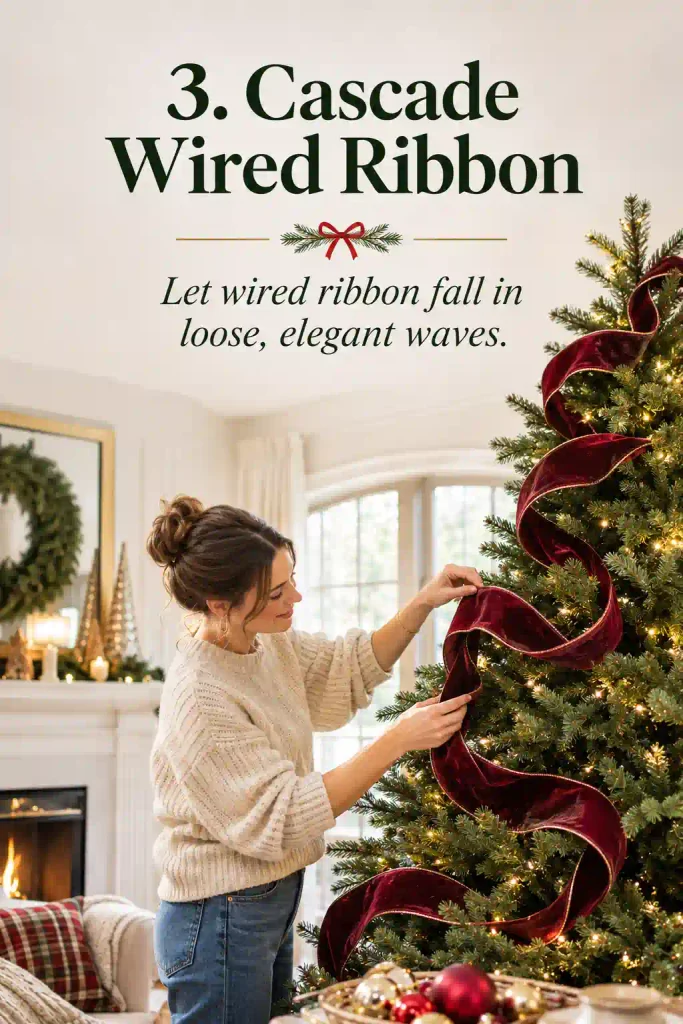
Wired ribbon is the secret ingredient. The thin wire along the edges holds a loop exactly where you put it. Tuck one end into the top of the tree, let the ribbon fall in long, loose waves, and anchor it every foot or so with floral wire.
Plan on 2 to 3 yards of ribbon per foot of tree height. Rolls cost $5 to $12. Velvet in deep green, burgundy, or cream looks the richest. Let the loops droop and curve, because stiff, perfect lines look cheap.
Pick a Tight Color Palette
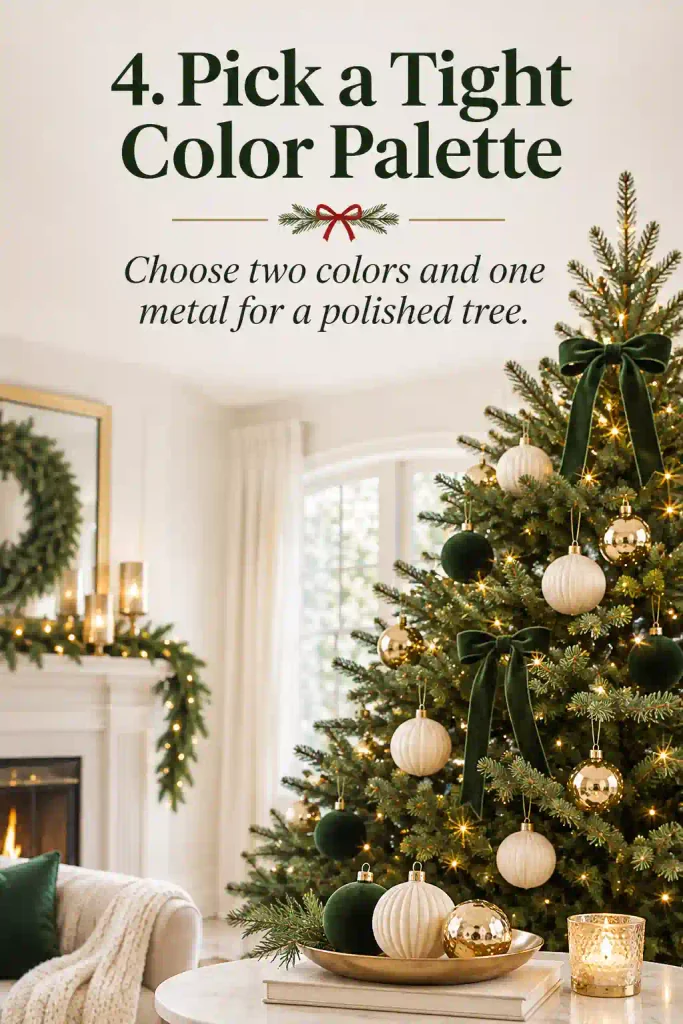
The most common mistake is putting every ornament you own on the tree. Choose two colors, maybe with one metal, and put everything else away. Cream and gold, forest green and copper, and soft white and silver all look polished.
A narrow palette is the fastest way to make a tree look designed. It costs nothing, and it’s mostly about what you leave in the box.
Layer Ornaments by Size
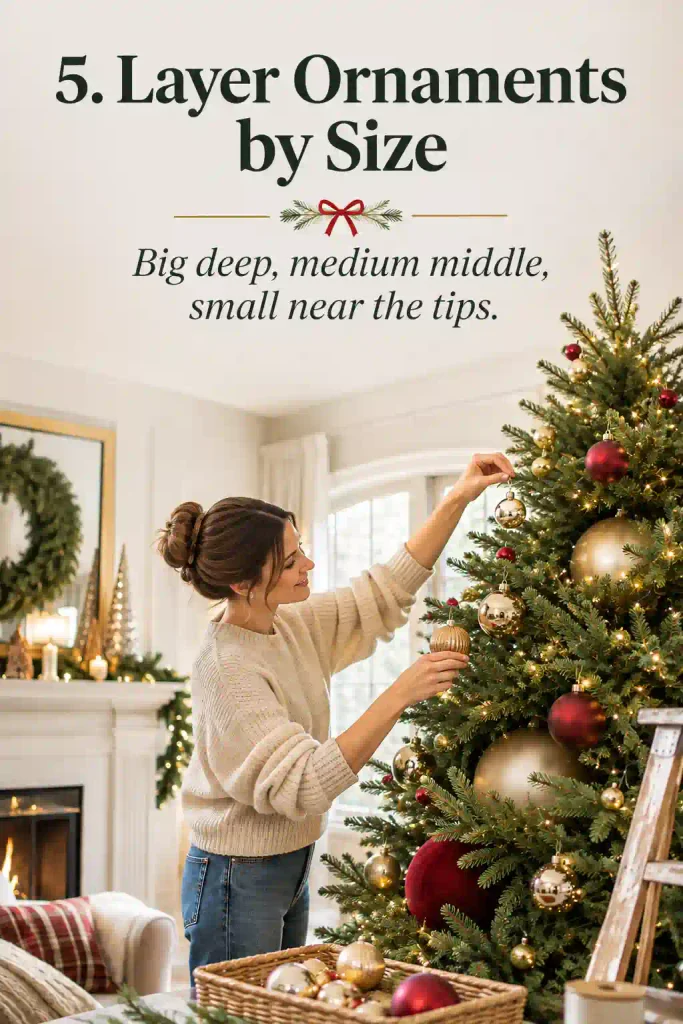
Start with your biggest ornaments and tuck them deep into the branches to add depth. Then add medium pieces, and finish with small ones near the tips. Mixing matte, shiny, and glittered finishes within one color family makes the tree look layered instead of flat.
A box of oversized shatterproof balls costs $10 to $25, and a few big pieces fill space faster than a hundred small ones. Shatterproof also survives pets and kids.
Fill the Holes With Ribbon Puffs
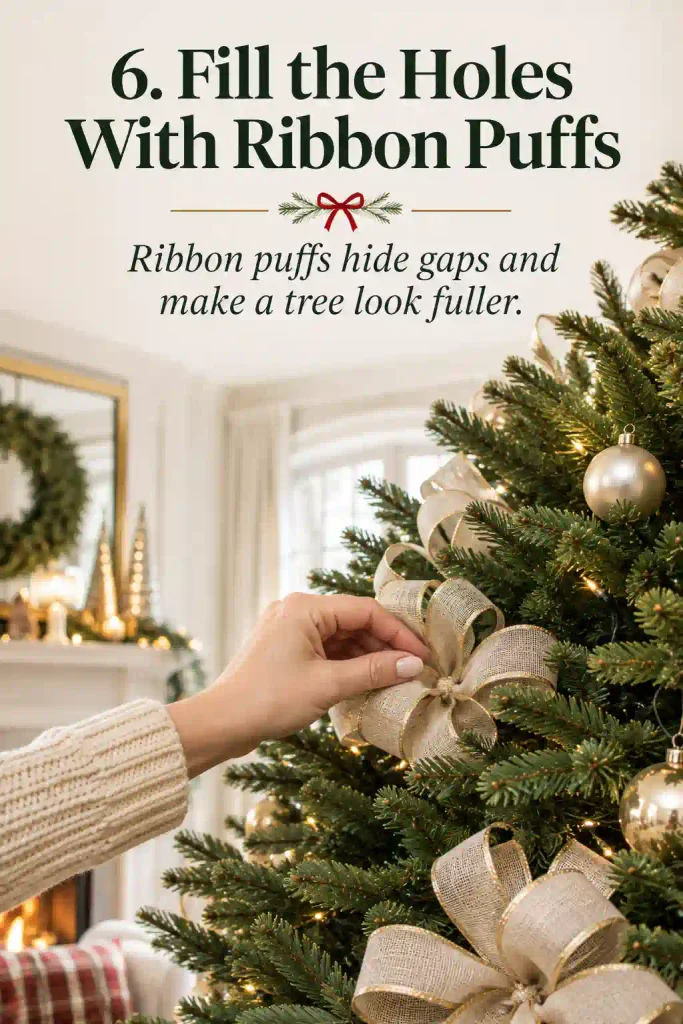
Every tree has gaps, especially an older artificial one. Cut a 10-inch strip of ribbon, fold it into a loop, and twist floral wire around the base. Tuck each puff into a hole and wire it to a branch.
A dozen puffs fix a sparse tree for pennies. Keep the loops slightly uneven so they look natural. Floral wire costs about $2 and will end up in every step of your decorating.
Add Dried Orange Slices

People swoon over these, and they’re nearly free. Slice oranges thin, pat them dry, and bake at 200°F for about three hours, flipping once. They turn amber and nearly see-through, like tiny stained glass windows when the lights hit them.
A few oranges cost about $4, and your kitchen smells like a bakery while they bake. Pinecones and sprigs of eucalyptus work beautifully alongside them.
Build a Big, Puffy Topper
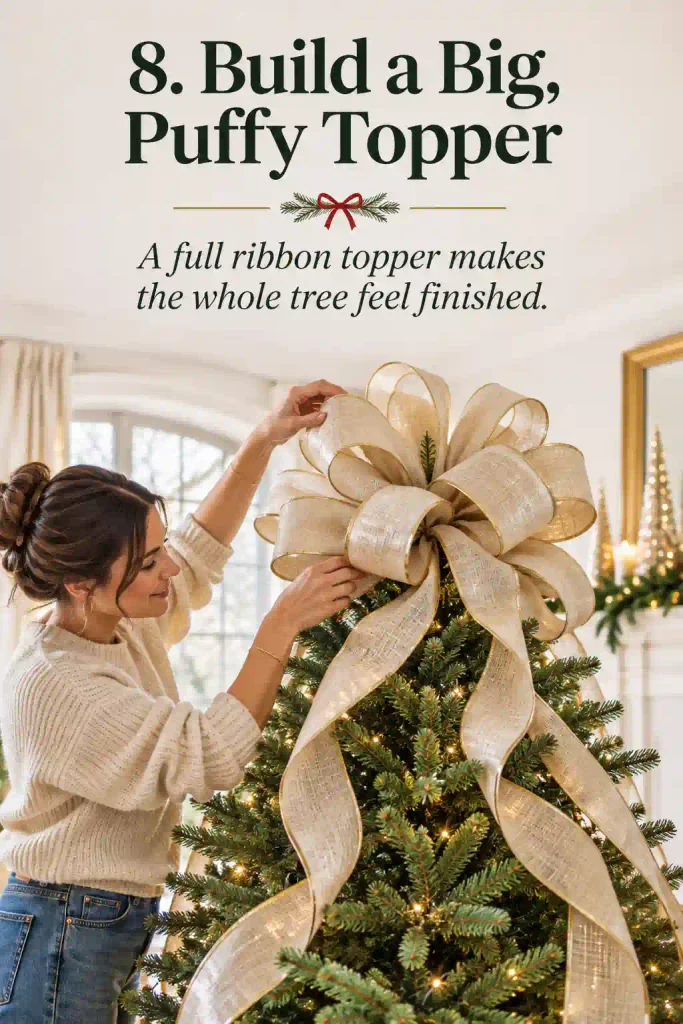
Timid toppers look sad. Make one from about 3 yards of wired ribbon, folded back and forth into six or eight loops, pinched at the center and wrapped tight with wire. Leave two long tails to fall down the branches.
It takes about ten minutes and costs around $6. Wire it to the top branch so it doesn’t lean. Whatever you choose, make sure it’s sized to the tree. Too small looks lost.
Hide the Stand
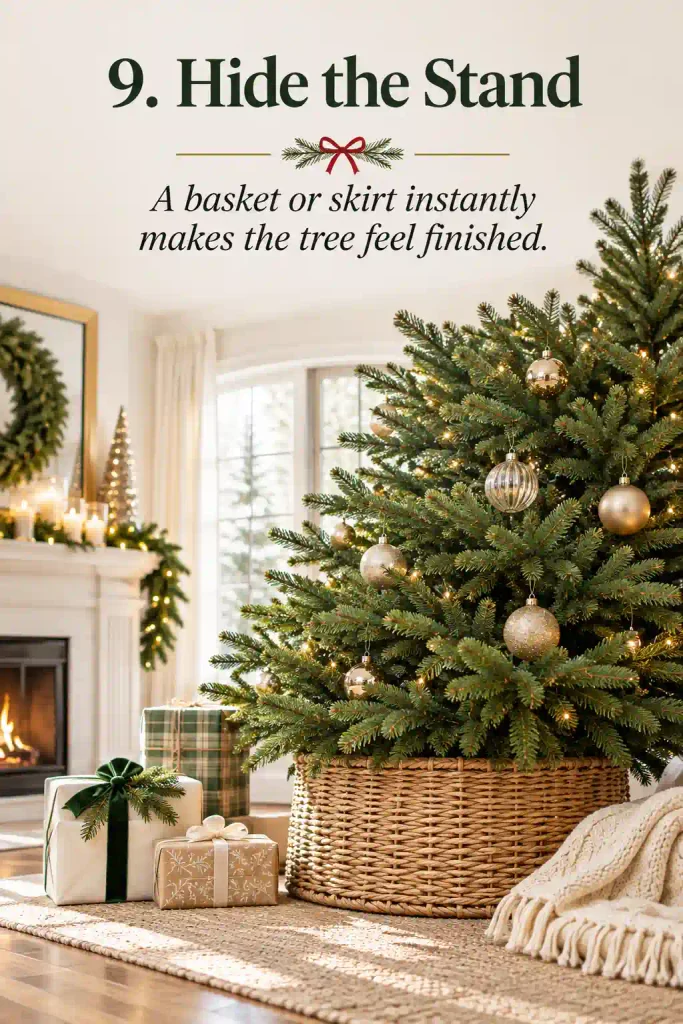
Nobody wants to look at a metal tree stand. Slide a woven basket, a cream wool skirt, or a plain wood collar around the base. A basket runs $15 to $40 and doubles as a place to hide wrapping paper.
In a pinch, a folded bath towel tucked under a basket does the same job. A covered base makes the whole tree look finished.
Hang One Ornament That Matters
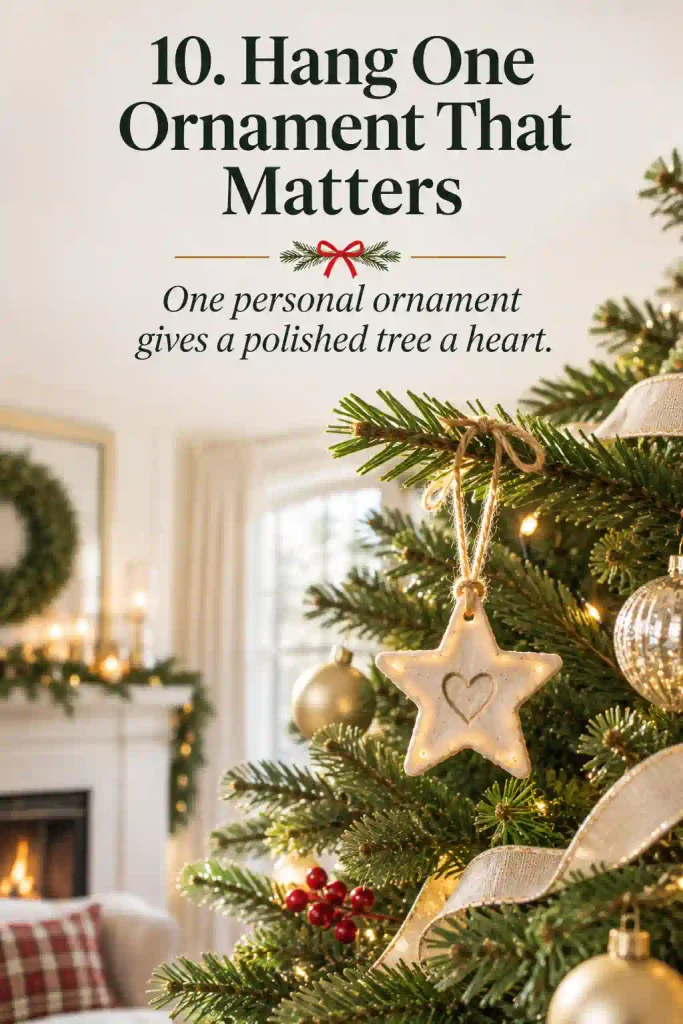
Lorraine told me that on every tree she did for the store, she hid one ornament in the back: a little paper angel her daughter made. Nobody knew it was there, but she did.
Hang one handmade or inherited ornament where the light hits it. A polished tree with one personal touch feels like a home instead of a display. Mine is a crooked clay star from my daughter’s first-grade class, and it hangs right at the front.
A Few Rules From Lorraine
- Step back often. Squint from across the room to spot heavy or thin areas.
- Use odd numbers. Three bows or clusters look more natural than pairs.
- Repeat things. The same ribbon, the same ornament shape, the same metal.
- Dim the room. A tree always looks best with the other lights off.
Common Questions
How much does a pro-looking tree cost?
Most people spend $50 to $150, mostly on lights, ribbon, and oversized ornaments. Reusing what you own cuts that further.
How long does it take?
About two to three hours, including fluffing.
Can I do this with a real tree?
Yes. Let it rest in water for a few hours first, then follow the same steps.
Is it safe with pets and kids?
Use shatterproof ornaments, keep breakables high, and anchor the tree so it can’t tip.
Where It All Ends Up
By the time Lorraine and I finished, the coffee was cold and the room smelled like cinnamon and pine. She looked at my tree through the window for a long minute and nodded. “That’s a good one,” she said.
When I turned off the lamps that night, the tree glowed. Ribbon fell soft through the branches, and the crooked clay star hung right in front. I sat on the floor with a mug of cocoa, and my eyes stung a little.
A pro look isn’t about money or skill. It’s about patience, warm light, and one thing that matters. So pick a few of these ideas this year, fluff your branches, and hide a little love somewhere in the middle.
Then bring your neighbor a plate of cookies. She might have opinions.