The December I turned thirty-two, I had exactly $40 left for Christmas decorations. My car had needed a new transmission that fall, and the holidays had to squeeze in around it.
I remember standing in the aisle of a big-box store, holding a box of shiny red balls and feeling my throat tighten. Everything on the shelves was either too expensive or too cheap-looking. My daughter, who was six, tugged my sleeve and asked, “Are we getting the pretty tree this year?”
“We’re getting a tree,” I said. “We’ll make it pretty.”
That year turned out to be one of my favorite Christmases ever, and our tree got more compliments than any I’d bought before. Here’s the story of what I learned, one lesson at a time.
The First Lesson: Buy Fewer Colors
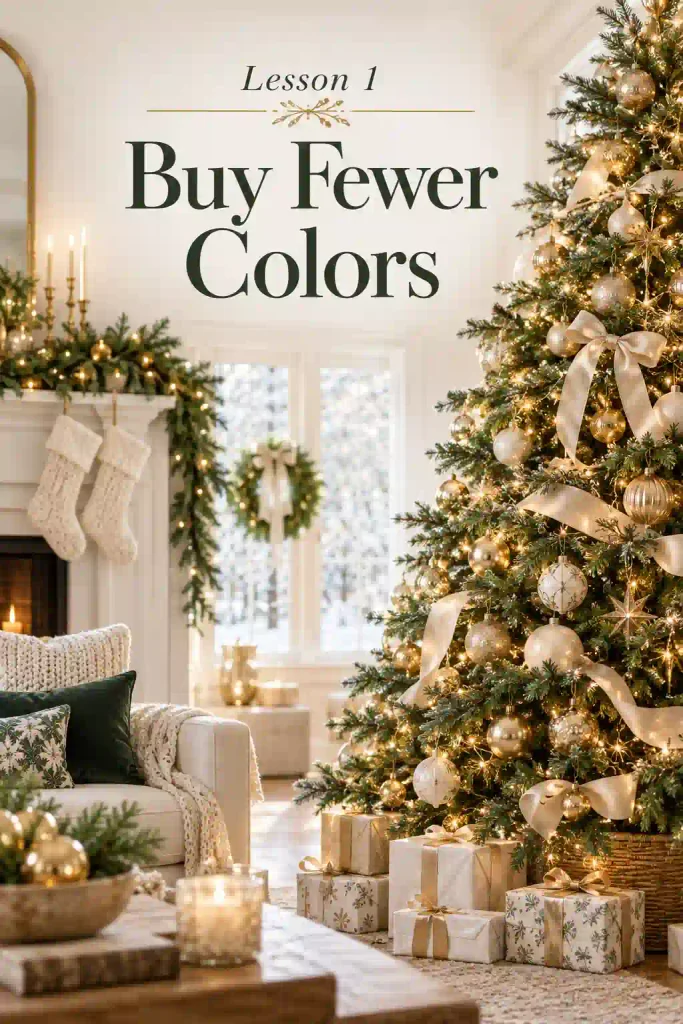
I put the red balls back. The tree looked busy in my head before I’d even bought anything.
A tree looks expensive when it sticks to two or three colors, like gold, cream, and green, or silver, white, and a touch of blue. Pick your palette before you spend a cent, and don’t stray from it. If you already own a mix of old ornaments, sort them by color and hang only the ones that match. The rest can go in a box for next year.
The Second Lesson: Lights Are the Whole Show
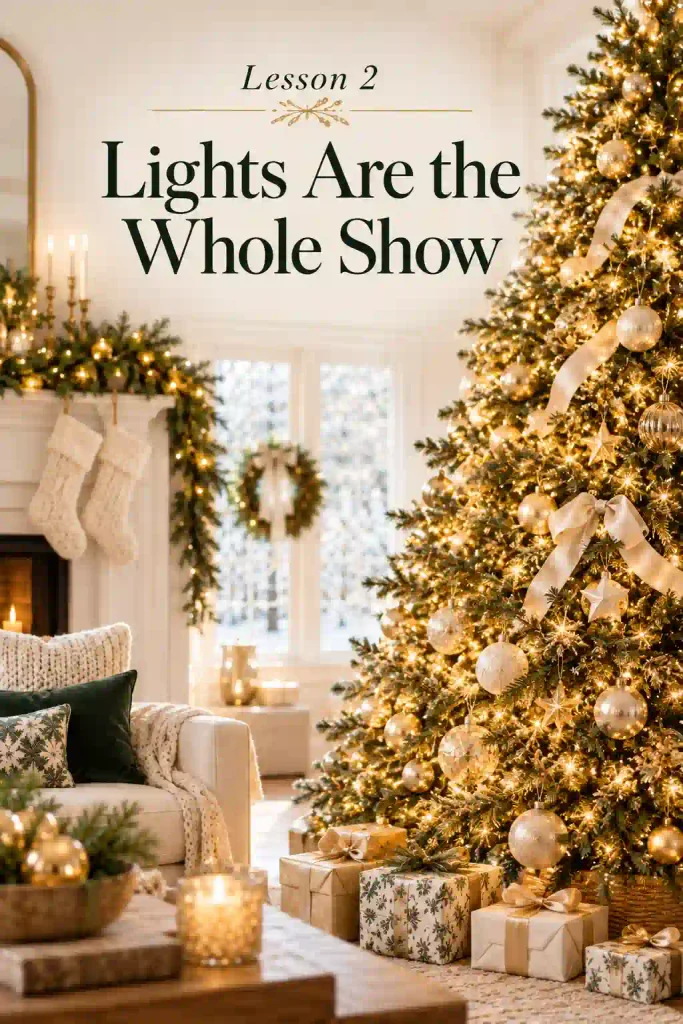
I spent $14 of my $40 on two extra strands of warm white lights. It felt like a lot, and it was the best money I spent.
Skip cool white, which looks harsh and cheap. Warm white lights glow like candlelight. Aim for about 100 lights per foot of tree, and weave them deep into the branches rather than wrapping them around the outside. Unplug everything and test each strand first, so you’re not hunting for a dead bulb with a half-decorated tree.
The Third Lesson: Ribbon Does the Heavy Lifting
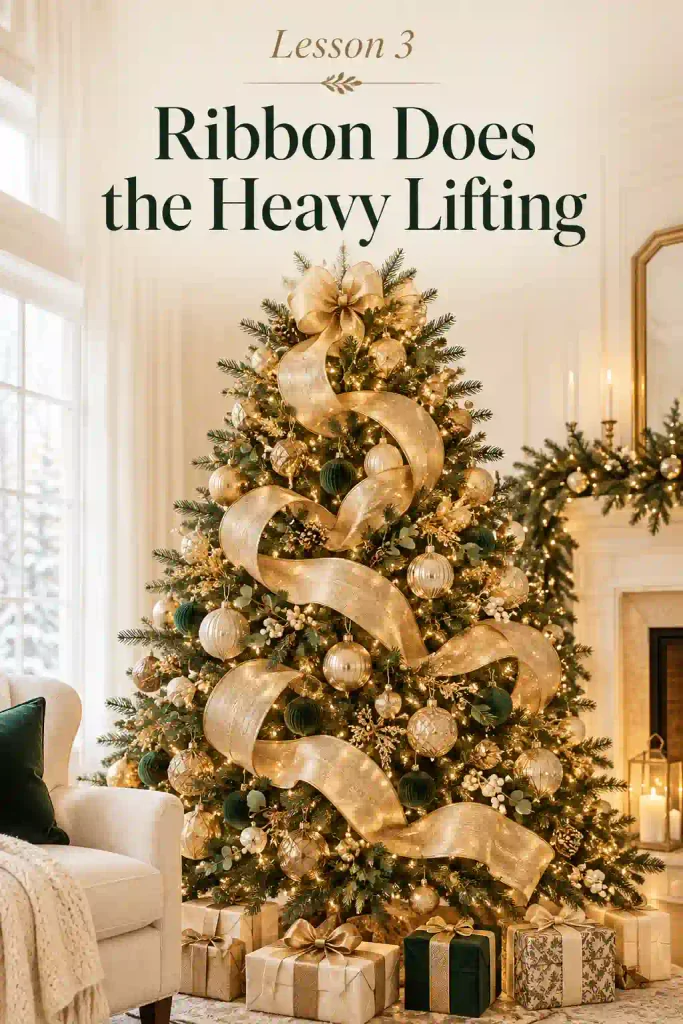
For $6, I bought two rolls of wide, wired ribbon in a soft gold. At home, I tucked it into the branches in loose waves, starting at the top and letting it dip and swoop all the way down.
That one step made the tree look like it came from a boutique. Wired ribbon holds its shape, and a big, generous wave looks far richer than a tight, neat line. Velvet and burlap-style ribbons are also pretty, and most craft stores sell them for $4 to $10 a roll.
The Fourth Lesson: Fill the Tree With Things From Outside
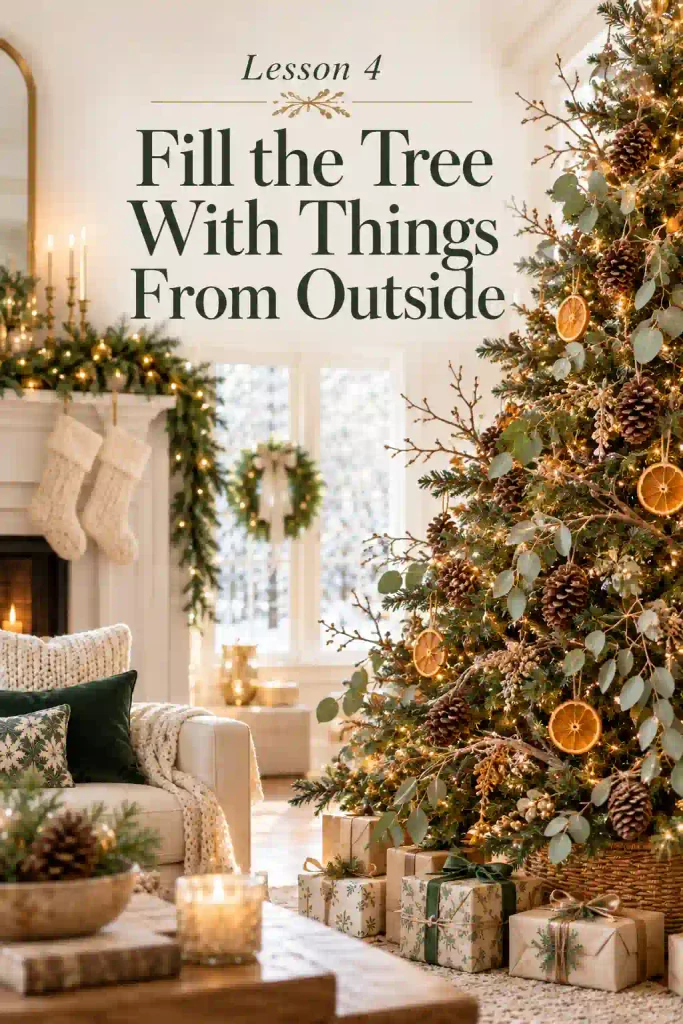
I had $20 left, and I wasn’t about to spend it on glitter. So I went for a walk.
Pinecones, bare twigs, and eucalyptus branches from a neighbor’s trimmed hedge came home with me in a paper bag. I sprayed the pinecones with a little gold paint, tucked the twigs into the branches, and stuck in a few sprigs of greenery. Nature adds texture that plastic never can. If you don’t want to wander, dried orange slices work too. Bake them at 200°F for about three hours, and they turn glowing and amber.
The Fifth Lesson: Go Big on a Few Ornaments, Not Small on Many
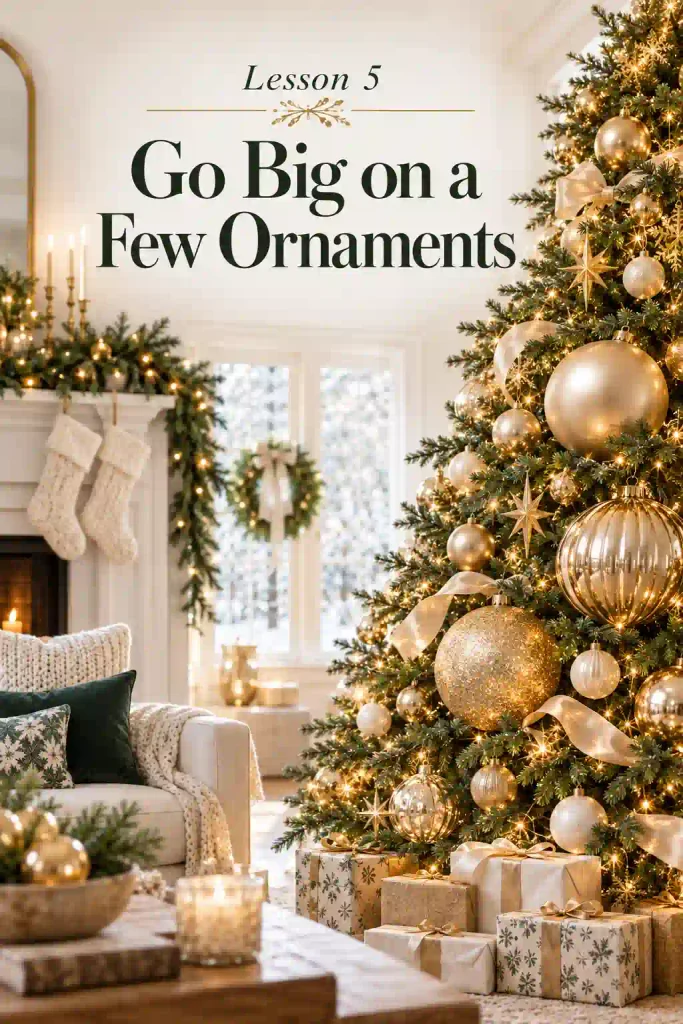
Instead of one big bag of tiny balls, I picked up six oversized shatterproof ornaments in champagne and gold for about $9. Big pieces fill space quickly and look more deliberate.
Tuck the largest ones deep into the tree to add depth, then add medium pieces around them, and small ones near the tips last. Mix matte and shiny finishes. A tree full of the same glossy ball looks flat, but a few finishes together look rich.
The Sixth Lesson: Fluff Like You Mean It
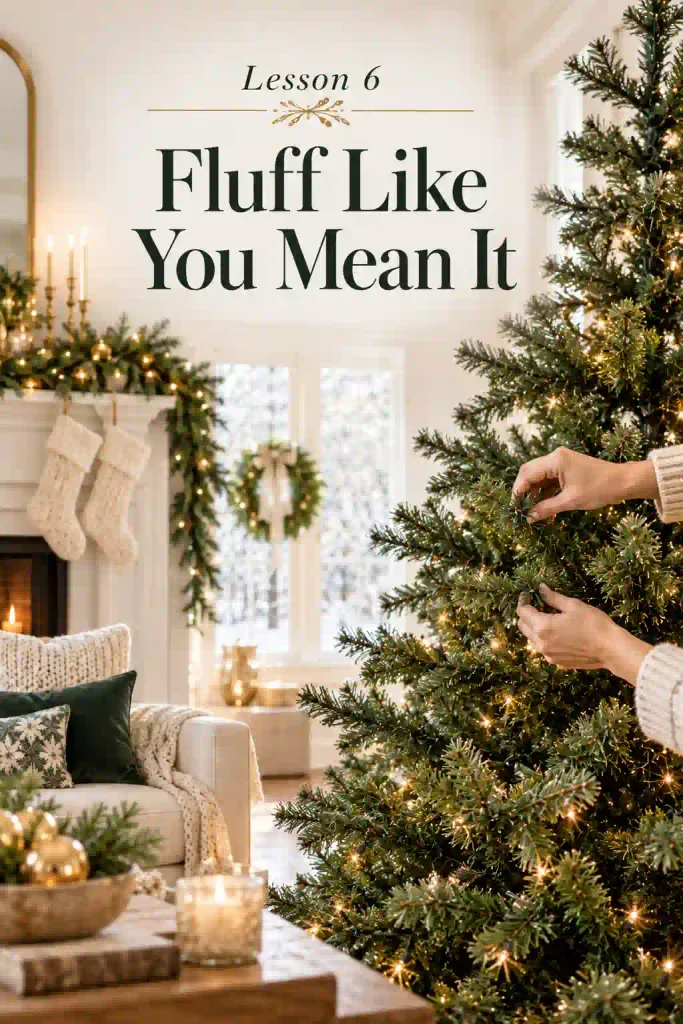
This one was free, and it surprised me most. My tree was an old artificial one from a yard sale, a little sparse and squashed from years in a box.
I spent twenty minutes pulling each branch tip apart, fanning the needles outward and bending the small side branches up and out. By the time I finished, the tree had nearly doubled in fullness. If you have a real tree, let it rest in water for a few hours before decorating, so the branches can relax.
The Seventh Lesson: Hide the Base

I couldn’t afford a tree skirt, and the metal stand looked bare and awkward. So I wrapped a cream bath towel around it and tucked a woven basket I already owned over the top.
Nobody could tell. Even simple coverings, like a pillowcase, a piece of burlap, or a big basket, make the whole tree look finished. A pretty skirt costs $15 to $40, but you can improvise one for almost nothing.
The Eighth Lesson: Top It With Something Simple
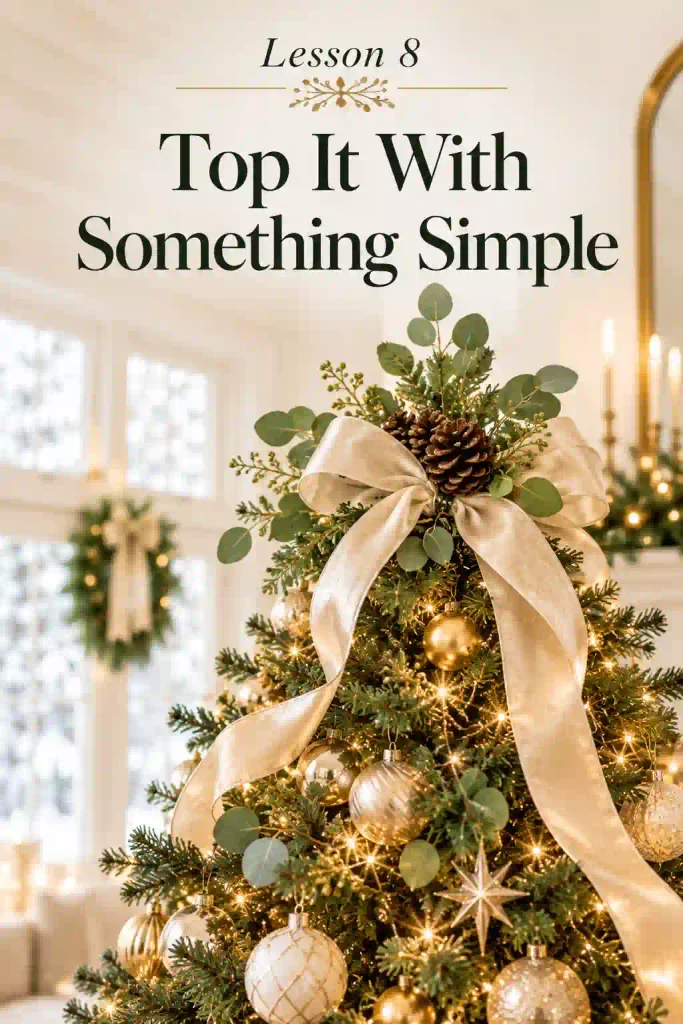
I made my topper from a few scraps. I tied leftover gold ribbon into a big, loose bow, and tucked in two pieces of eucalyptus and a pinecone. A bit of floral wire held it in place.
It looked softer and more personal than a plastic star. A simple bow, a bundle of dried stems, or a single store-bought star can all work. The key is size, because a topper that’s too small looks lost.
The Ninth Lesson: Make Room for the Ornaments That Mean Something
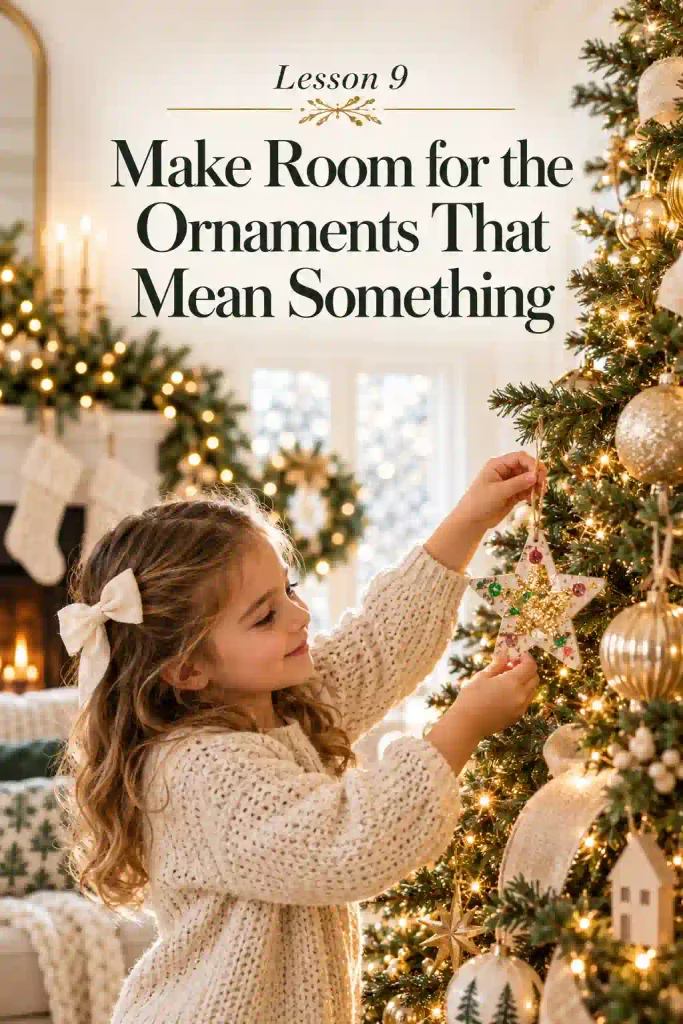
I couldn’t help it. My daughter had made a lumpy paper star at school, covered in too much glitter. It didn’t match anything, and I hung it right at eye level.
An expensive-looking tree is one that feels intentional, and nothing feels more intentional than a sentimental piece in a place of honor. Don’t hide the handmade ornaments. Place a few near the front, where you can see them every time you walk by.
A Few Quick Reminders
Squint at your tree from across the room. Gaps and heavy spots show up right away, and you can fix them with a single ornament.
Keep the budget in mind, but don’t panic. Most of what makes a tree look pricey is free: patience, fluffing, and a calm color plan.
Turn off the overhead lights when you’re done. A tree always looks best in a dim room.
Common Questions
How much should I spend on a tree?
You can make a beautiful one for $40 to $100 by reusing what you own and adding ribbon, lights, and a few big ornaments.
What if my tree is old or thin?
Fluff it well and add extra ribbon and greenery. Fullness matters more than the age of the tree.
What are the cheapest ways to add sparkle?
Warm lights, gold or silver spray paint on pinecones, and a few oversized ornaments go a long way.
Where should I shop?
Check dollar stores, thrift shops, and post-holiday sales. Also look around your yard first.
The Night We Turned Off the Lamp
When we finished, I turned off the living room lamp. The tree glowed gold against the dark, with ribbon curving down through the branches and that crooked paper star near the middle.
My daughter stood there in her socks, quiet for a long moment. Then she whispered, “This is the prettiest one ever.”
I looked at the tree, at the borrowed branches and the secondhand stand and the towel hiding the legs, and I blinked back a few tears. It cost less than a nice dinner out, and it was worth more than anything I’d ever bought in a store.
That’s what I hope you take from this. A tree doesn’t need an expensive price tag to look beautiful. It needs a little thought, a little patience, and someone who loves the people who’ll sit beside it.
So this year, pick two or three of these ideas and start there. Tuck in some ribbon, fluff the branches, and hang the crooked ornament up front. Then turn off the lamp, and look.
You might find that you already have the pretty tree.