
A recipe card from my mother’s kitchen drawer, rewritten for the tree. Makes one very merry living room.
My mother never wrote down her cookie recipes. She kept them on stained index cards in a drawer that stuck, and half of them said things like “add flour until it looks right.”
Last December, I stood in front of my bare tree, holding a tangle of lights and a box of ornaments, and I thought, “I wish somebody had written this part down.” Nobody had. So I made my own card, the way she would have, with ingredients and steps and a few notes in the margins.
Here’s the recipe I use now. Eleven steps. Feel free to splatter it with cocoa.
The Ingredients
One tree (any size, real or artificial), warm white lights, ribbon, a handful of big ornaments, a few natural touches, something sentimental, and an evening with nowhere else to be.
Step 1: Prep the Pan (Fluff the Tree)

Nobody bakes in a dirty pan. If your tree is artificial, spend twenty minutes pulling each branch tip apart, starting at the bottom. Fan the needles outward and bend the small side branches up and out.
It costs nothing, and it makes the tree look nearly twice as full. If your tree is real, let it sit in water for a few hours first so the branches relax.
Step 2: Cream the Butter (Lights Go On First)
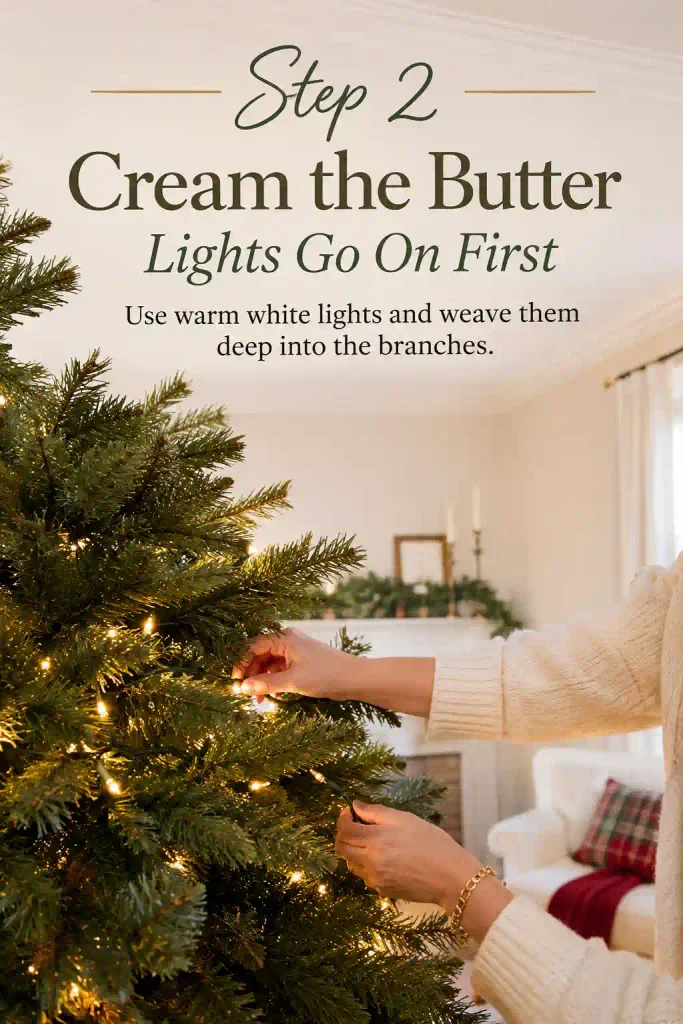
Lights come before everything else, and this is the step people rush. Choose warm white, which glows like candlelight, instead of cool white, which looks like a parking lot.
Plan on about 100 lights per foot of tree. Weave them deep into the branches, not just around the outside, so the tree glows from within. Strands run $8 to $15, and you should test each one before you start.
Step 3: Fold in the Ribbon
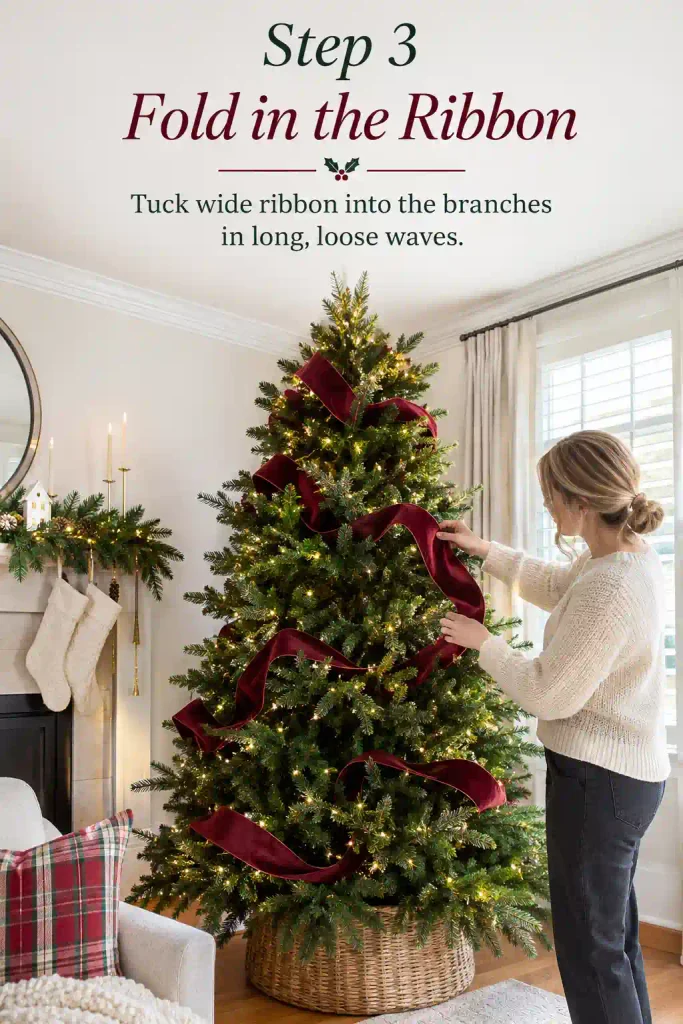
This is my mother’s “until it looks right” step. Tuck wide wired ribbon into the branches in long, loose waves, starting at the top and letting it dip as it falls. Velvet, plaid, or satin all work.
Rolls cost $5 to $12, and two or three cover a standard tree. Big, droopy loops look rich. Tight, perfect lines look like a gift bag.
Step 4: Add the Big Pieces First
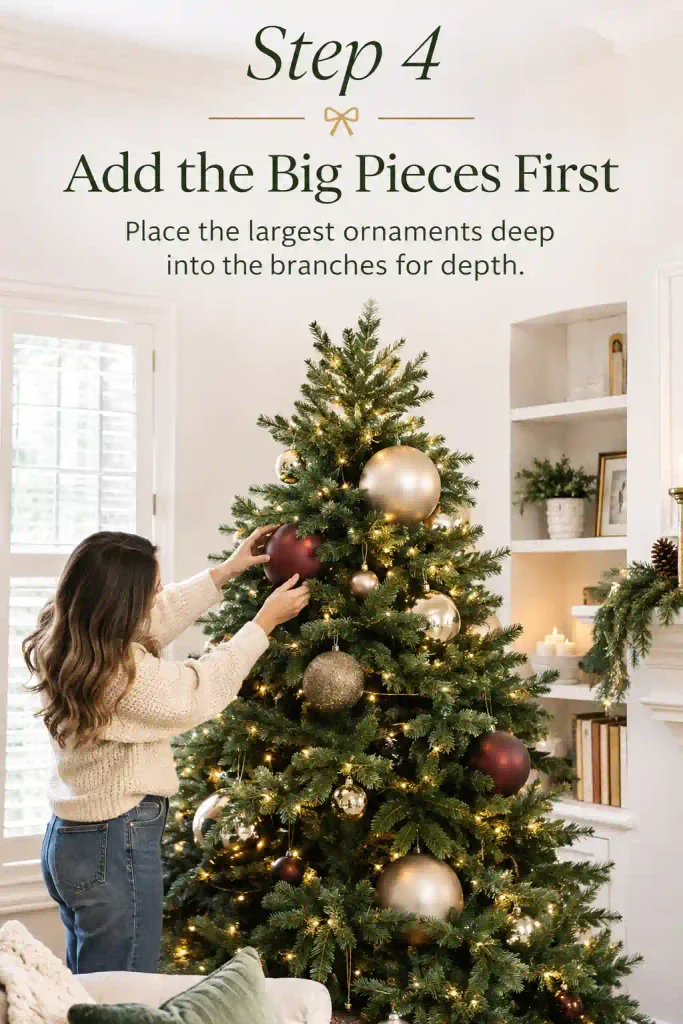
Chunky ingredients go in before the delicate ones. Tuck your largest ornaments deep into the branches for depth, then add medium ones around them, and save the little ones for the tips.
Oversized shatterproof balls run $10 to $25 a box. Mix matte, shiny, and glittered finishes, since a tree full of identical glossy balls looks flat.
Step 5: Choose Your Flavor (Pick a Palette)
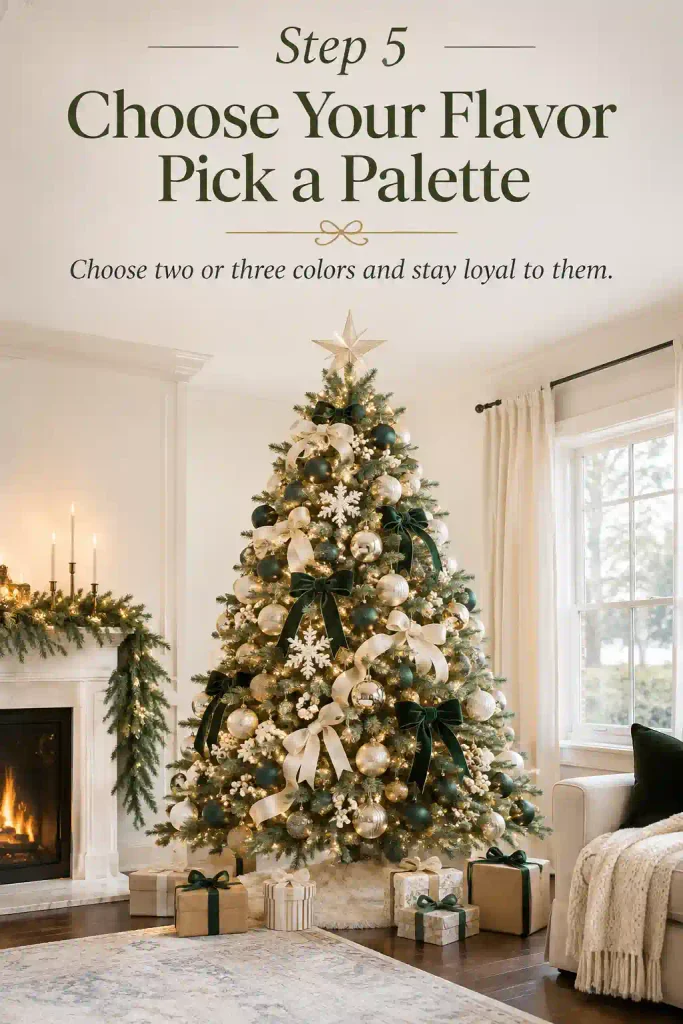
Every good recipe has a theme. Choose two or three colors and stay loyal. Cream, gold, and green taste like a classic. Soft white, silver, and blush taste like fresh snow. Burgundy and champagne feel rich and a little dramatic.
Box up everything else for next year. A tight palette is what makes visitors say, “Your tree is so pretty,” without knowing why.
Step 6: Sprinkle in Something Natural
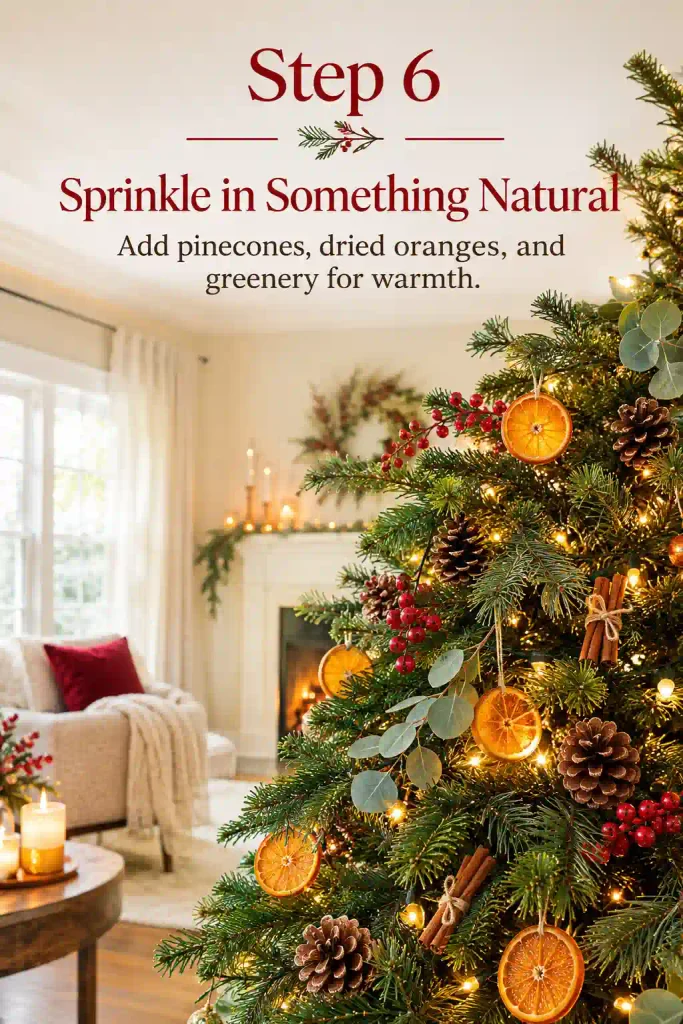
A pinch of the outdoors keeps a tree from feeling plastic. Tuck in pinecones, cinnamon sticks, faux berries, and a few sprigs of eucalyptus or pine.
Dried orange slices are my favorite. Slice them thin, bake at 200°F for about three hours, and flip once. They turn amber and glow when the lights hit them, and your whole house smells like a bakery. A few oranges cost about $4.
Step 7: Don’t Skip the Secret Ingredient (Sentimental Ornaments)
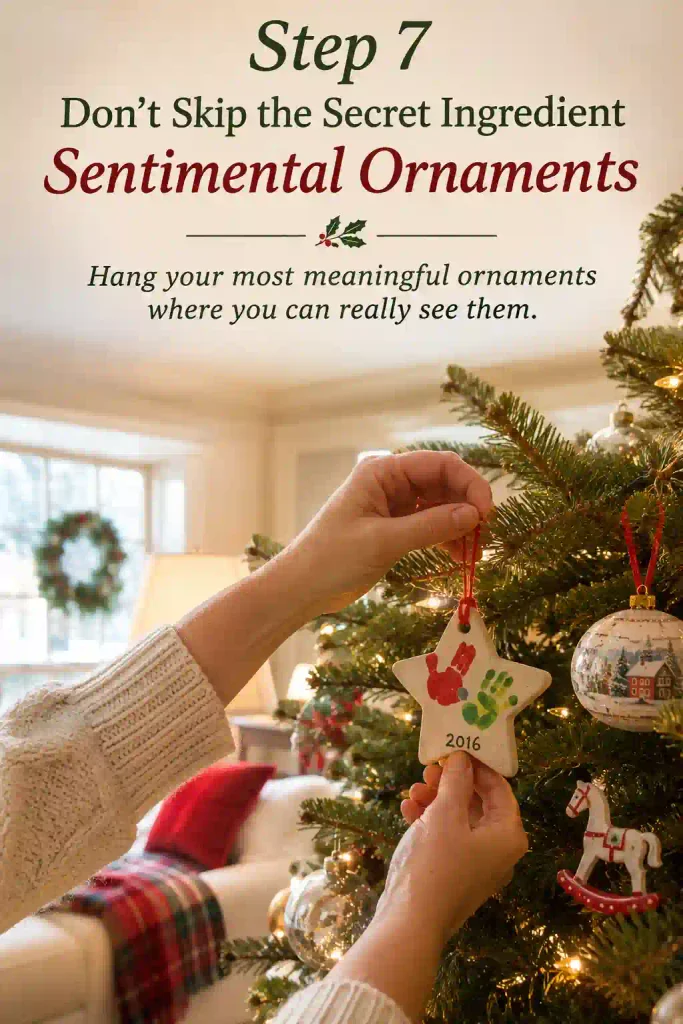
This is the card’s most important line, and my mother underlined it. Hang the handmade, mismatched, slightly lopsided ornaments where you can see them, right at eye level.
My favorite is a clay star my daughter made in first grade. It’s crooked and a little too glittery, and it sits front and center every year. A tree that looks planned is nice. A tree that looks loved is better.
Step 8: Top It Off
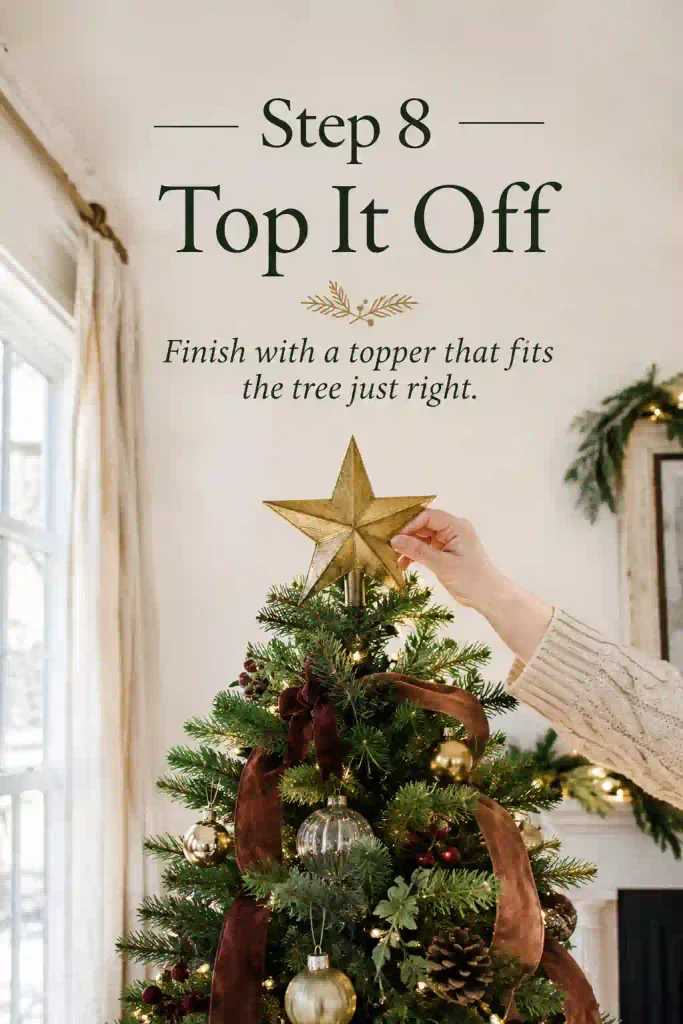
A topper is the cherry on the sundae. A gold star, a big velvet bow, or a bundle of ribbon and dried stems all look lovely. Match it to the size of the tree. Too small looks lost, and too big looks heavy.
Toppers cost $10 to $30. Use a bit of floral wire to hold it steady so it doesn’t lean like it’s had too much eggnog.
Step 9: Dress the Plate (Cover the Base)
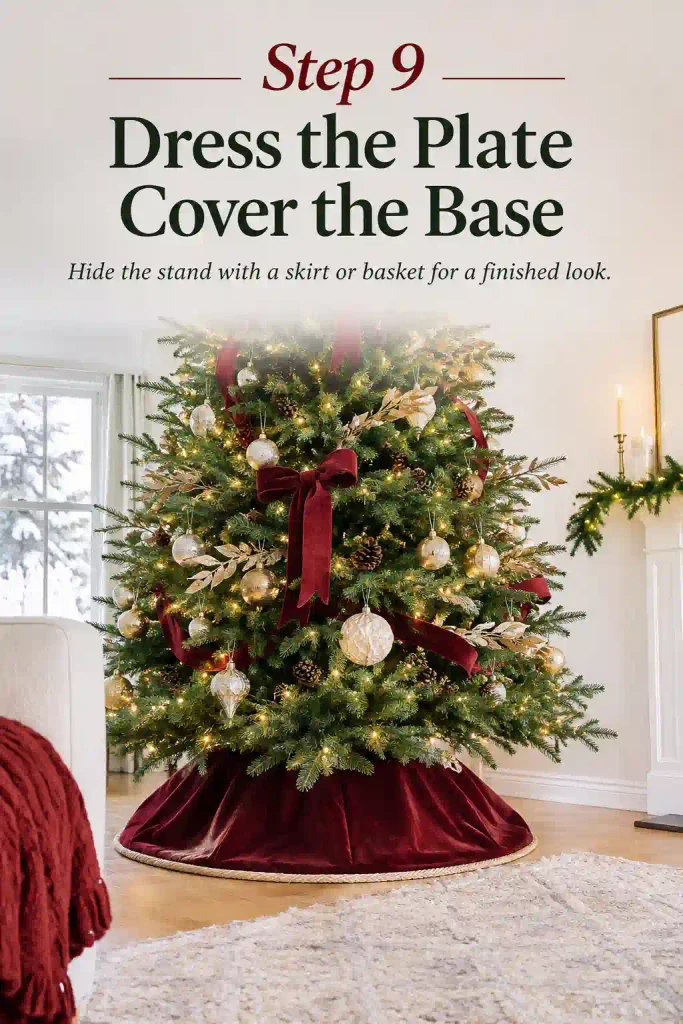
Presentation matters. A velvet tree skirt, a woven basket, or even a cream bath towel under a basket hides the metal stand and finishes the look.
Skirts and baskets run $15 to $40. A basket can also hide extra wrapping paper, which is handy in December.
Step 10: Garnish With Gifts
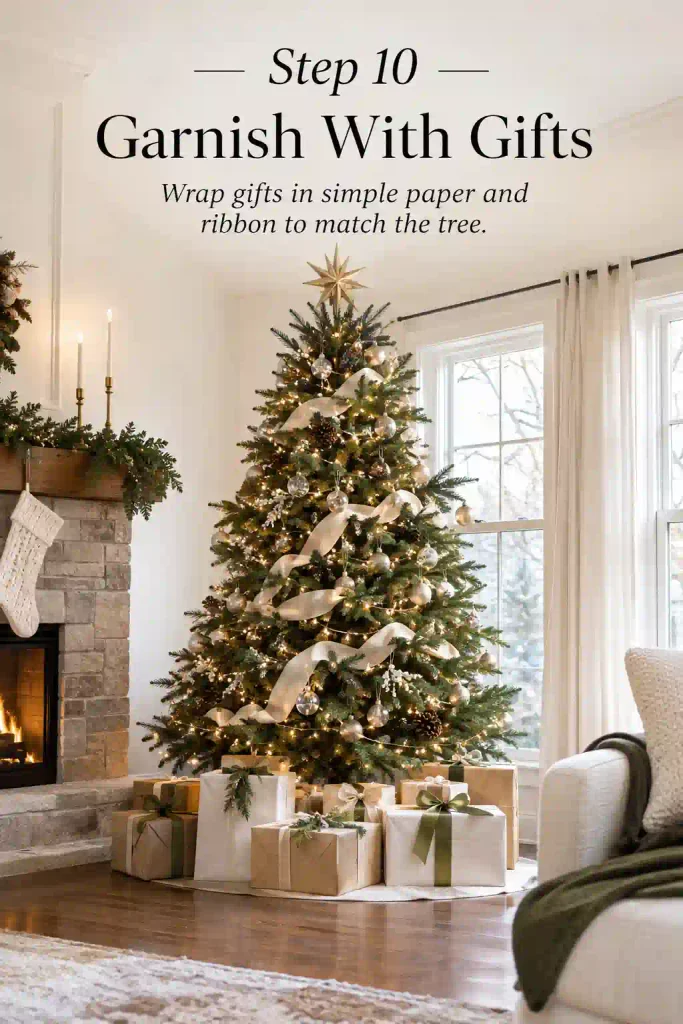
Presents wrapped in kraft paper, cream paper, or plain white with a ribbon and a sprig of greenery look gorgeous under the branches and match the palette.
If you’re short on gifts, wrap a few empty boxes in the same paper. Nobody has to know. A roll of paper and ribbon costs about $10 to $20.
Step 11: Let It Rest
Every recipe ends with waiting. Turn off the lamp and the overhead light, make some cocoa, and sit on the floor in front of the tree for ten minutes. Don’t touch your phone. Don’t fix anything.
A tree looks best in a dim room, and you look best when you finally stop moving.
Notes in the Margins
Step back often. Squint from across the room to spot gaps and heavy spots.
Don’t crowd it. Leave a little space between ornaments so each one gets noticed.
Mix depths. Some ornaments should sit inside the branches and some near the tips.
Check your outlets. Don’t overload one plug, and turn the lights off when you leave the house.
Quick Questions
How many ornaments do I need?
For a 7-foot tree, about 60 to 80, plus ribbon and natural fillers.
How much does this cost?
Most people spend $60 to $200 by reusing what they own and adding lights, ribbon, and a few big ornaments.
Real or artificial?
Both look beautiful. Real trees smell wonderful, and artificial ones last for years and don’t drop needles.
What about pets and toddlers?
Use shatterproof ornaments, keep breakables high, and anchor the tree so it can’t tip.
The Last Line of the Card
After my mother passed, I found her recipe drawer. It still stuck. Inside, under the cookie cards, was one more index card in her handwriting. It had no ingredients and no steps. It said, “Don’t forget to sit and look at it.”
I laughed out loud, right there in her kitchen, and then I cried. That was the whole recipe. She’d known it all along.
This year, when I finished my tree, I turned off every light but the little ones on the branches. I sat on the floor with a mug of cocoa. The ribbon curved down through the glow, the clay star hung crooked near the front, and my daughter climbed into my lap, nearly too big for it.
Nobody said a word. The tree did all the talking.
So make your own card this year. Pick a few steps, skip the rest, and add flour until it looks right. And when you’re done, don’t forget the last line.
Sit and look at it.