
Wall Decor Ideas: The following is a diary I kept over eight weekends while trying to fix the emptiest, saddest walls in my first house. Every entry ends with what it cost. I’ve left in the mistakes, because those are the useful parts.
Weekend 1: Admit the problem
Walked through the living room with a cup of coffee and finally said it out loud: my walls look like a dentist’s office. Builder white, two nail holes from the last owners, and a single framed print I bought in college sitting on the floor because I never hung it.
I told myself I’d fix one thing per weekend and keep a running total. No big shopping sprees. No credit card guilt. Let’s see how this goes.
Idea 1: One oversized art print instead of lots of little ones

I spent an hour online looking at prints and nearly cried at the prices. Then I found independent artists who sell digital downloads for about $10 to $20. I picked a soft abstract in warm clay and cream, and took the file to a local print shop. A 24×36 inch poster cost $18.
The frame was the splurge: $45 for a simple black wood one. Total: $63. Hung it above the sofa, centered, with the middle of the piece at about 57 inches from the floor. I stood back and actually said “oh” out loud. One big piece looks like a decision. Six tiny ones look like an apology.
Weekend 2: The thrift store gamble
Saturday morning at the thrift store, where I normally buy mugs. Today I walked straight to the frame aisle. They were everywhere, mostly ugly, mostly $2 to $5. I grabbed seven in different sizes, ignoring whatever art was inside.
At home, I took out the glass, laid the frames on newspaper in the driveway, and gave them two coats of matte black spray paint. The mismatched shapes suddenly looked like a matched family.
Idea 2: A gallery wall with painted thrift frames
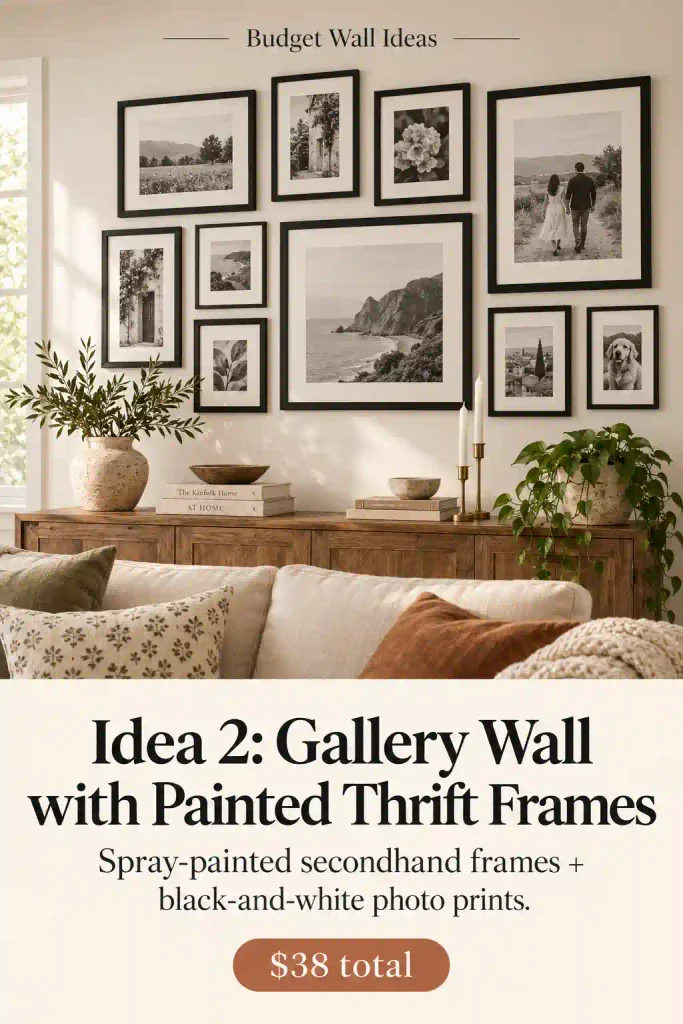
I filled them with black-and-white photos from my own phone, printed at the drugstore for about 30 cents each. Paper templates taped to the wall helped me plan before I put in a single nail. Total: $38, including the spray paint. Looks like I paid a designer, honestly.
Weekend 3: I almost wrecked everything
Mistake time. I rushed the gallery wall layout on a Sunday night and hung two frames too close to the ceiling. They looked cramped. I had to fill the holes and start over.
Lesson learned: lay everything on the floor first, take a photo, and hang from the center outward. Patching holes cost me $6 and about an hour of feeling dumb. Note to self: slow down.
Weekend 4: Paint, but different
I’d been staring at the wall behind my TV for months. Instead of white, I chose a deep, muted green. A single gallon was $42, and a roller and tape added another $15.
Idea 3: One deep-color accent wall
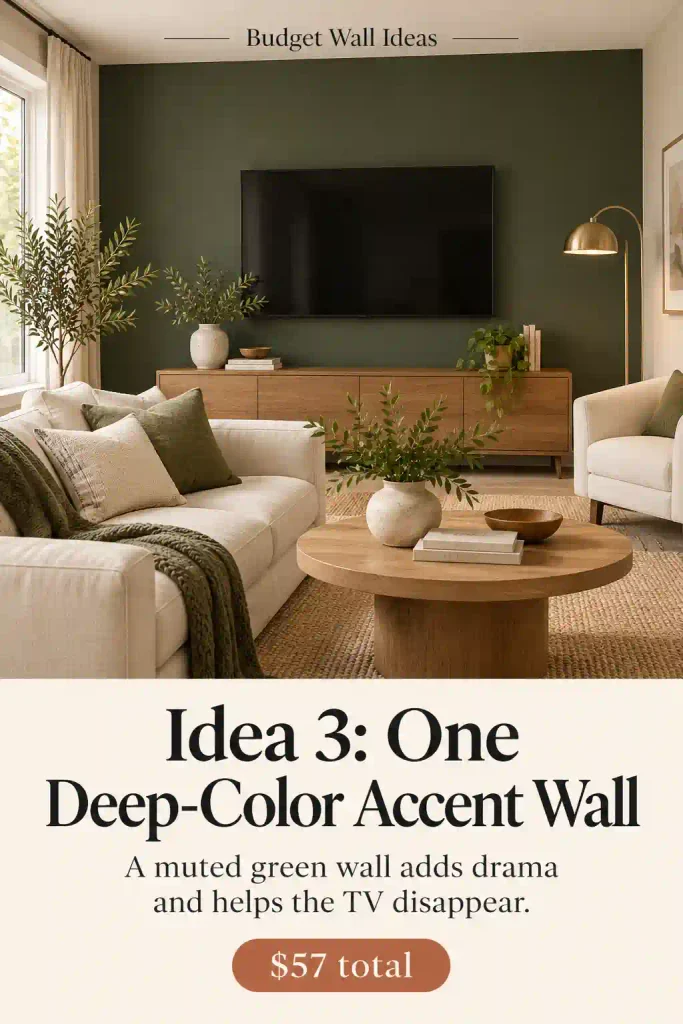
A single wall in a rich color, painted in one afternoon, changes how the whole room feels. The TV nearly vanished against the dark paint, and my pale furniture suddenly popped. My neighbor came over and asked if I’d hired painters. Total: $57. Sample patches first. My first pick looked blue at night, and I’m glad I caught that before painting a whole wall.
Weekend 5: Mirrors, the oldest trick in the book
A big mirror does two jobs. It looks expensive and bounces light around. I found a tall arched mirror on an online marketplace from a woman who was moving. She wanted $40. I offered $30. She said yes before I finished typing.
Idea 4: A secondhand statement mirror
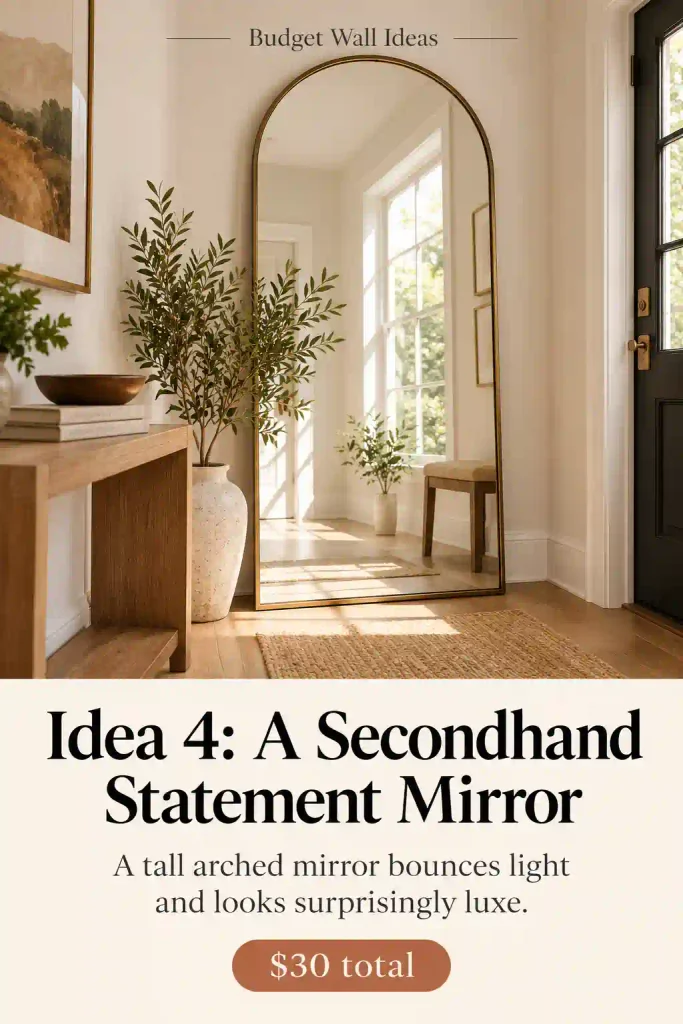
I leaned it against the wall in the hallway, across from a window. The hall brightened right away. It looks like a boutique hotel piece. Total: $30 plus a gas fill-up. If your mirror has a dated frame, a coat of gold or black spray paint fixes it in twenty minutes.
Weekend 6: Adding a little architecture
This was my “should I even try this?” weekend. I’d seen those wall panel looks everywhere, the kind with clean rectangular lines that cast soft shadows. A real installation costs hundreds. So I tried a cheaper way: thin MDF strips, wood glue, and paint.
Idea 5: DIY picture frame molding
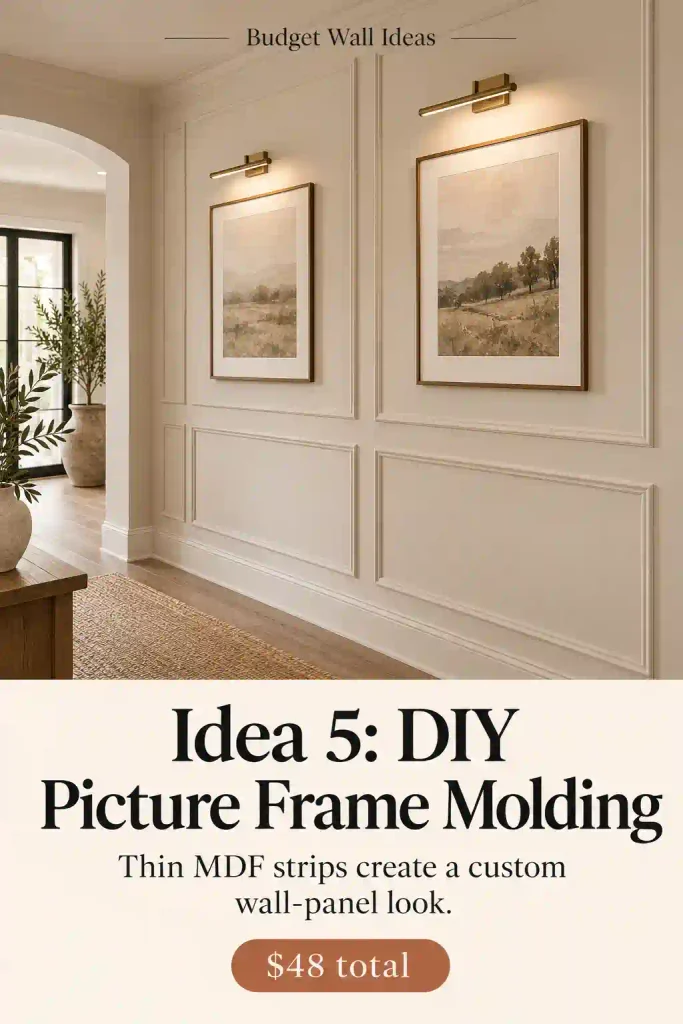
I measured, marked with a pencil and level, glued the strips into rectangles, then painted the whole wall and trim one color. It took a full day and I got paint in my hair, but the finished wall looked custom. Total: $48 for strips, glue, and paint. A friend asked which carpenter I used. I wanted to frame that question.
Start with a hallway or small wall if you’re nervous. Mistakes are less visible there.
Weekend 7: Texture without the price tag
My living room still felt flat. I didn’t want more art, so I thought about fabric. I found a large piece of heavy linen at a fabric store clearance table for $14.
Idea 6: A framed fabric panel
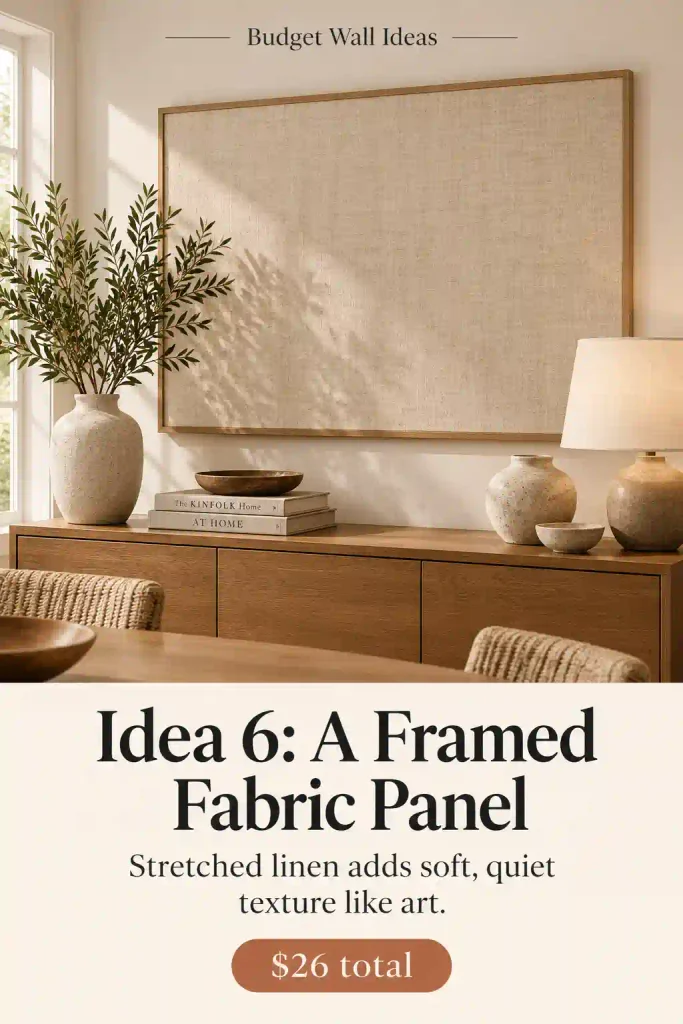
I stretched it over a simple wood frame I built from 1×2 boards, stapled it on the back, and hung it over the sideboard. It adds soft, quiet texture, almost like a canvas without the paint. Total: $26. People keep asking where I found “that art.”
Idea 7: A picture ledge instead of nails

Same weekend, I put up a long, narrow picture ledge shelf in the dining room, $22. It lets me lean frames, swap them out, and layer a plant or candle in front. If I get bored, I just rearrange. No new holes, no new anything.
Weekend 8: The light that finished it
This last one surprised me most. I’d been ignoring light on the walls, but flat, even lighting makes everything look cheap.
Idea 8: Plug-in wall sconces

I bought two plug-in sconces with cords you can hide under a strip of cord cover. They were $34 each. I mounted one on each side of the big mirror, installed warm bulbs, and turned them on at dusk. The wall glowed. The mirror glowed. Even the green paint looked richer. Total: $68, and the room went from “nice” to “wow.”
The final tally
- Oversized print and frame: $63
- Painted thrift frame gallery: $38
- Green accent wall: $57
- Secondhand mirror: $30
- DIY molding: $48
- Framed fabric: $26
- Picture ledge: $22
- Plug-in sconces: $68
That’s $352 for the whole living room and hallway. Less than a single piece of art at a gallery shop.
Where I found the good stuff
- Thrift stores for frames, mirrors, and ledges
- Online marketplaces for large mirrors and wood pieces
- Print shops for oversized art at a fraction of retail
- Fabric clearance tables for textured panels
Mistakes I made so you don’t have to
I rushed layouts, skipped testing paint colors, and bought hardware before measuring. Also, I forgot to pick a color palette for the art, so my first gallery wall looked like a yard sale. Keep to two or three colors and repeat them.